Tire retreading: the 12 stages of the process
 Jade Zart 5 min read
To increase fleet savings, tire retreading is a common practice when the casing is still suitable for refurbishment.
However, it is not always possible. In many cases, managers face retread rejection: the tire cannot be reused to receive a new tread.
This happens when tires have already suffered excessive damage that is visible externally, or that has compromised their internal structure. If you have not yet established effective tire management in your operation, you have probably already encountered this rejection.
Retreading is a form of refurbishment in which the tire’s tread is replaced. Thus, in addition to casing analysis, the service must meet the applicable requirements for tire refurbishment and conformity assessment.
To better understand how the tire retreading process works, see the steps below:
- Tire collection;
- Cleaning;
- Initial inspection;
- Buffing;
- Skiving;
- Repair;
- Filling;
- Second inspection;
- Cementing;
- Tread application;
- Vulcanization;
- Final inspection and quality control.
The tire retreading process step by step:
1 – Tire collection
The first stage of retreading is collecting the tires that fleet management sends for this process. In other words, when the manager identifies a certain level of tire wear, they are removed from the vehicle and sent for casing analysis.
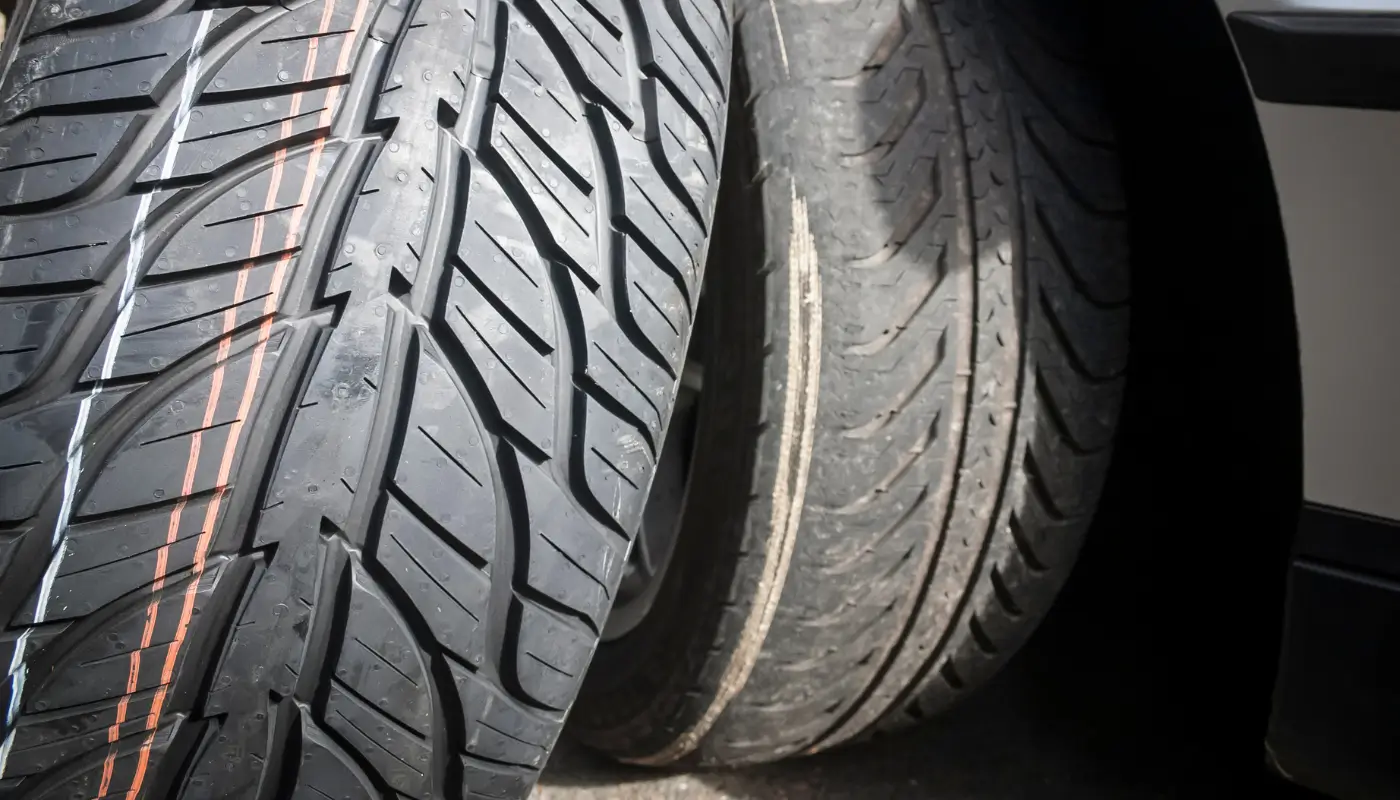
Checking tread depth helps determine the right time to assess retreading or replacement, and also helps keep tire CPK under control.
Each collected tire usually receives an invoice and tire identification, also showing the service to be performed on the asset.
2 – Cleaning
Cleaning is considered a crucial stage of the tire retreading process because it helps make the next stage, tire inspection, reliable. This ensures greater success at the end of the process.
A machine with steel brushes is used to reduce residue on the rubber and make tire inspection easier.
Want to see this in your fleet? Talk to a Prolog specialist
3 – Initial inspection
At this point, the retreader’s analysts need to determine whether the tire is suitable for retreading. To do so, the examiner looks for visible damage, a criterion that disqualifies the tire and leads to retread rejection.
However, this is only the initial inspection. A few stages later comes skiving, where damage to the tires and casing will be determined with greater certainty.
4 – Buffing
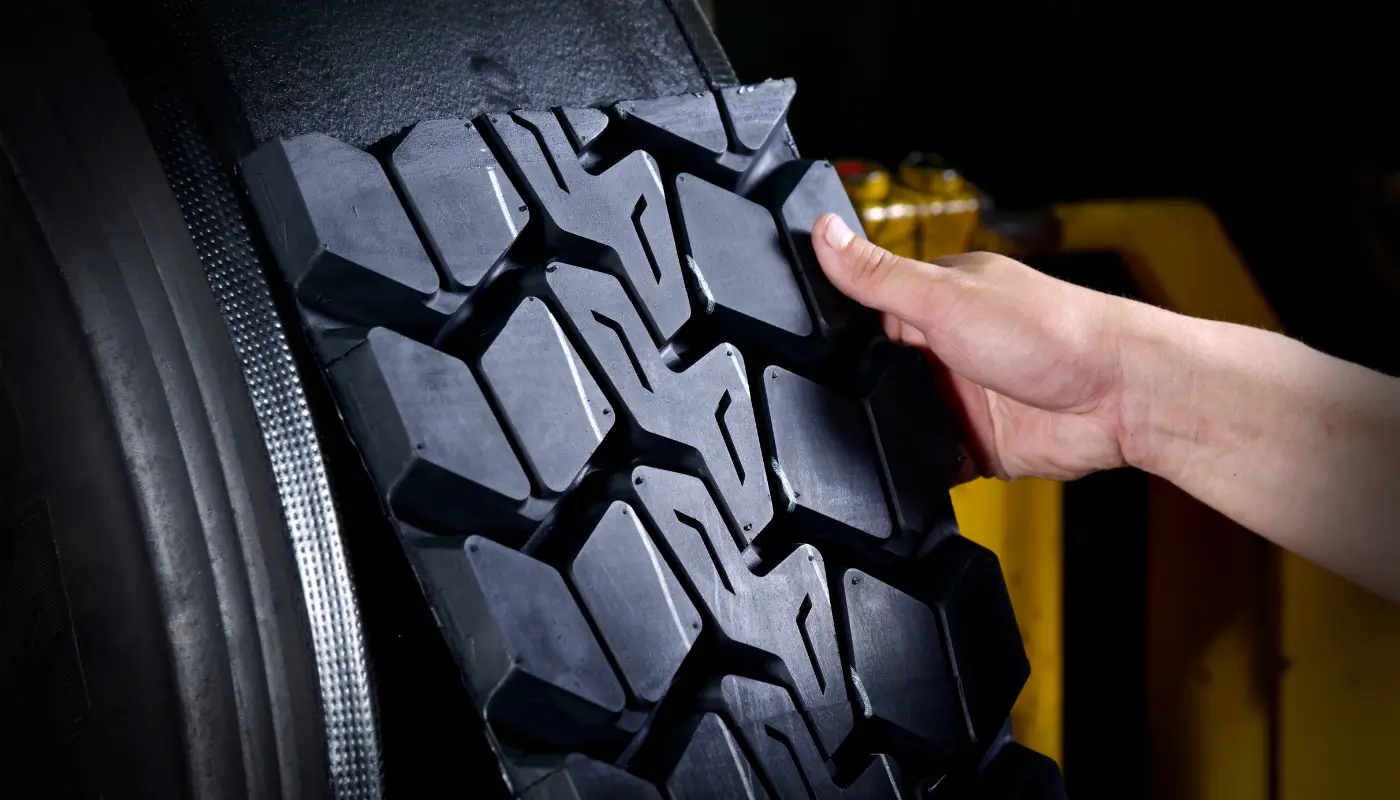
Before retreading, the rubber already on the tire must first be removed to allow a new tread to be fitted. This stage of the tire retreading process is called “buffing”.
5 – Skiving (treatment)
This is the stage where cuts and damage found in the casing are repaired, such as by removing oxidized parts. It is an essential step to extend the tire’s useful life and make retreading truly worthwhile.
6 – Repair
If some damage cannot be corrected during skiving, this second repair phase must be carried out. It usually involves more extensive reconstruction of the tire’s structure, because the damage has gone deeper.
7 – Filling
Filling replaces rubber left uneven by the earlier stages, leveling out any holes that may be present.
8 – Second inspection
This stage is not a mandatory part of the tire retreading process, but helps prevent the tire from moving on with a defect that could affect the final refurbishment results.
It is a quicker, more general analysis of the tire as a whole, ensuring its quality so retreading can continue. However, not all retreading companies perform this check at this point.
9 – Cementing
Cementing, also known as “adhesive application”, protects the casing so the tire is ready for the remaining stages of the retreading process.
10 – Tread application
With all the previous preparation steps complete, the tire is now ready to receive its new tread. Before application, the tread is also prepared, cut to the exact size and diameter for the tire being refurbished.
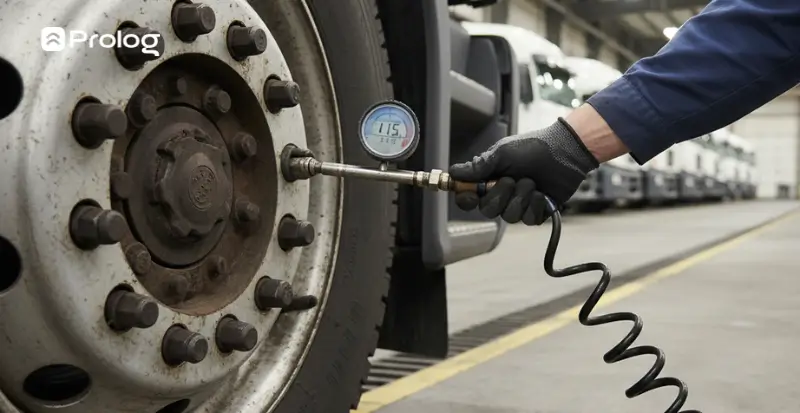
Application uses a machine, generally called a “builder”, which the operator configures so the tire and tread fit properly — inflating the tire to the correct pressure, setting the splice gap and applying the tread.
Finally, the machine performs stitching or enveloping, removing excess air between the tread and casing.
An important part of this tire retreading process is the identification on each applied tread, provided by the retreader itself. This allows quality and safety control over the number of retreads performed on each tire.
11 – Vulcanization
During vulcanization, the tire is subjected to different temperatures, times and pressures. These conditions are specific to each model and tread rubber, requiring considerable attention and care from the operator to avoid mistakes during this stage.
The aim of vulcanization is to ensure better adhesion of the grooves to the casing.
12 – Final inspection and quality control
At the end of this entire tire retreading process, one last inspection is still necessary. The operator looks for failures that may have occurred in any of the earlier stages.
If rejected, tires are usually discarded, because refurbishment was not possible and repeating the process is unfeasible. If approved, they proceed to issuance of tax documents and shipment to the company that requested the service.
Learn the ideal time to retread your fleet’s tires (video in Portuguese):
Why carry out the tire retreading process?
It is a way to save on the fleet’s budget, since retreading usually costs less than buying a new tire. Also, when the process is performed correctly and the casing is in good condition, the tire can keep running longer — and, depending on the technical assessment, even be retreaded again.
Prices vary depending on region, tire type, retreader and casing condition. So, rather than use an old average as a rule, it is best to compare current quotes for new tires and retreading, also considering safety, service compliance and the fleet’s wear history.
Tire management is essential to ensure tires can undergo retreading and avoid rejection during casing inspection.
It allows you to control wear levels and identify problems that could lead to retread rejection. Keeping track of this helps send the tire for assessment at the right time, before wear or damage makes refurbishment unfeasible.
To learn more, download our free resource: Fleet Tire Management – How to bring more savings and productivity to your transport operation (in Portuguese).
Frequently asked questions
What are the stages of the tire retreading process?
How much does retreading a tire cost compared with buying a new one?
Why is a tire rejected for retreading?
What happens during skiving?
How can you tell how many times a tire has been retreaded?
What is vulcanization used for in retreading?
// newsletter
Fleet management content, straight to your inbox
Articles on tires, maintenance and fleet operations. No spam.